Your identity is important to you, right? While impersonation can be seen in some senses as a form of flattery, we all would prefer to be the only person capable of representing ourselves online, unless we intentionally delegate that privilege to someone else and maintain the ability to revoke it.
#Amber does all of that for you in the context of #Nostr. It minimizes the possibility of your private key being compromized by acting as the only app with access to it, while all other Nostr apps send requests to Amber when they need something signed. This even allows you to give someone temporary authority to post as you without giving them your private key, and you retain the authority to revoke their permissions at any time.
greenart7c3 has provided Android users with an incredibly powerful tool in Amber, and he continues to improve its functionality and ease of use. Indeed, there is not currently a comparative app available for iOS users. For the time being, this superpower is exclusive to Android.
Installation
Open up the Zapstore app that you installed in the previous stage of this tutorial series.
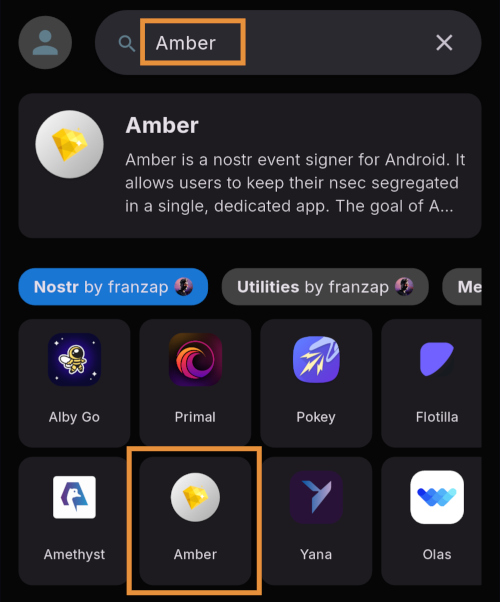
Very likely, Amber will be listed in the app collection section of the home page. If it is not, just search for "Amber" in the search bar.
Opening the app's page in the Zapstore shows that the release is signed by the developer. You can also see who has added this app to one of their collections and who has supported this app with sats by zapping the release.
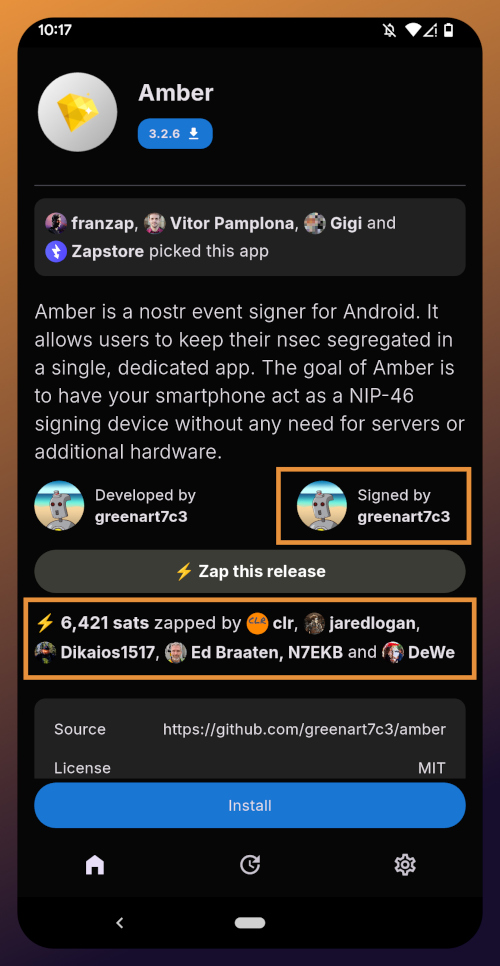
Tap "Install" and you will be prompted to confirm you are sure you want to install Amber.
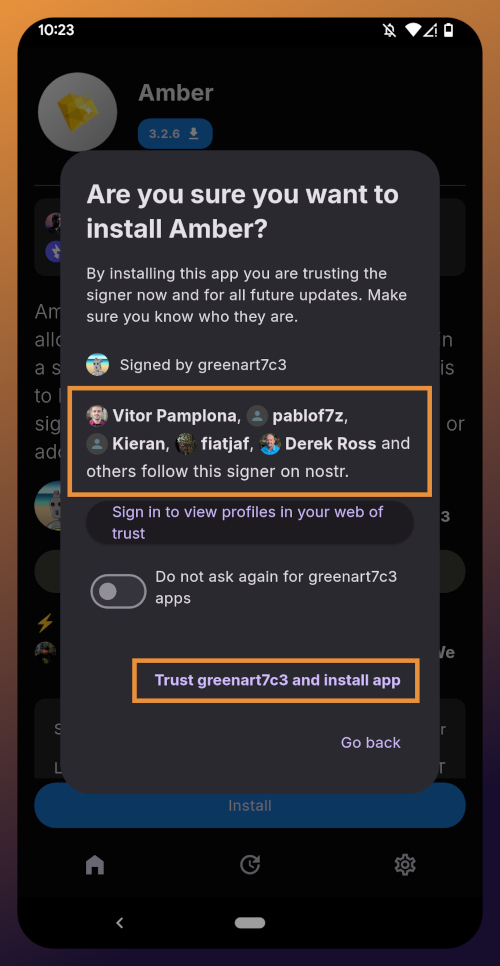
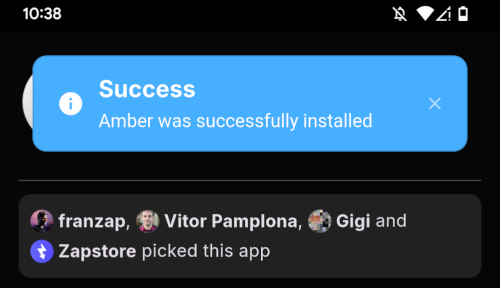
Helpfully, you are informed that several other users follow this developer on Nostr. If you have been on Nostr a while, you will likely recognize these gentlemen as other Nostr developers, one of them being the original creator of the protocol.
You can choose to never have Zapstore ask for confirmation again with apps developed by greenart7c3, and since we have another of his apps to install later in this tutorial series, I recommend you toggle this on. Then tap on "Trust greenart7c3 and install app."
Just like when you installed the Zapstore from their GitHub, you will be prompted to allow the Zapstore to install apps, since Android considers it an "unknown source."
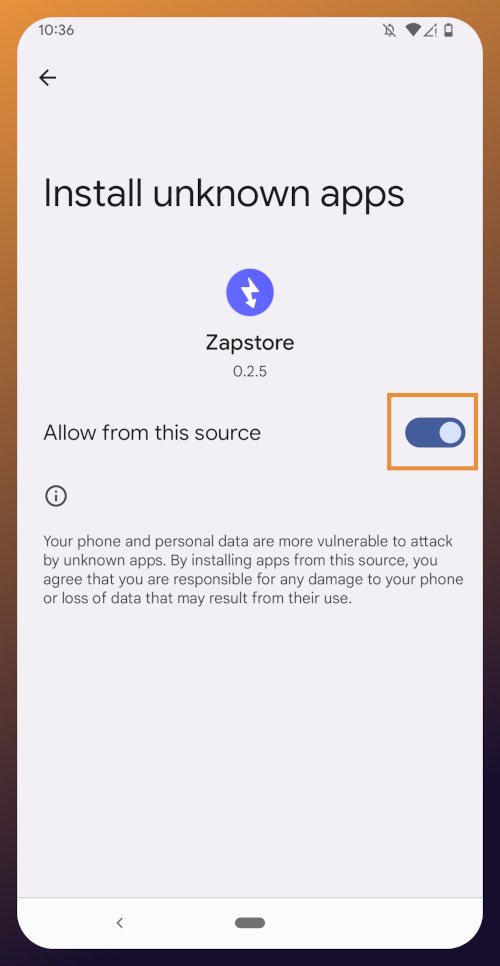
Once you toggle this on and use the back button to get back to the Zapstore, Amber will begin downloading and then present a prompt to install the app. Once installed, you will see a prompt that installation was a success and you can now open the app.
From here, how you proceed will depend on whether you need to set up a new Nostr identity or use Amber with an existing private key you already have set up. The next section will cover setting up a new Nostr identity with Amber. Skip to the section titled "Existing Nostrich" if you already have an nsec that you would like to use with Amber.
New Nostrich
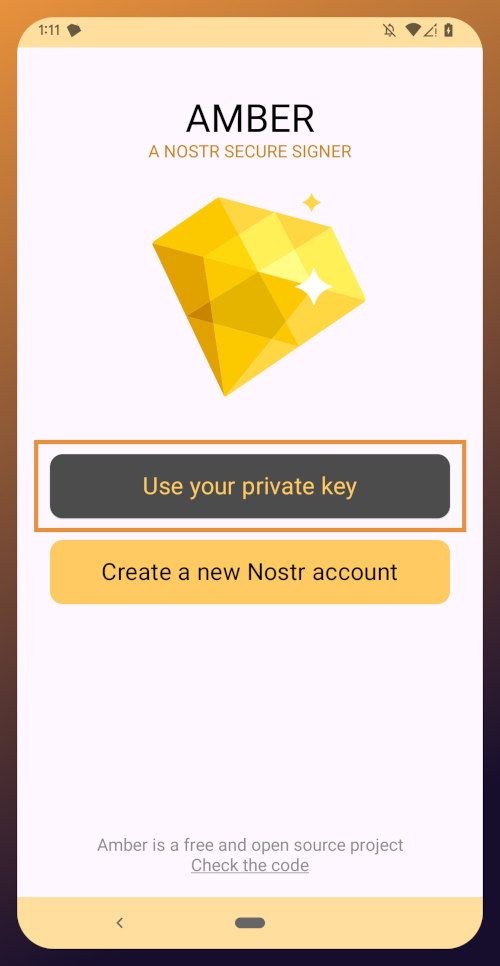
Upon opening the application, you will be presented with the option to use an existing private key or create a new Nostr account. Nostr doesn't really have "accounts" in the traditional sense of the term. Accounts are a relic of permissioned systems. What you have on Nostr are keys, but Amber uses the "account" term because it is a more familiar concept, though it is technically inaccurate.
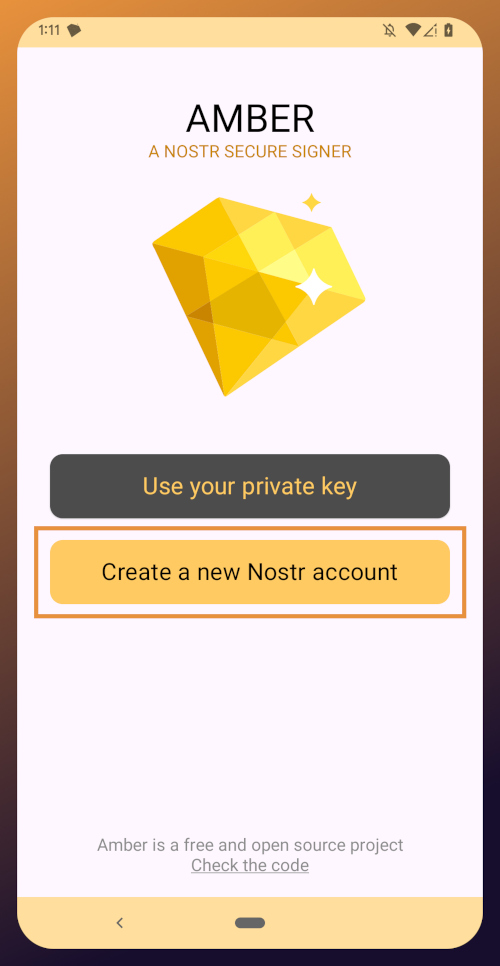
Choose "Create a new Nostr account" and you will be presented with a screen telling you that your Nostr account is ready. Yes, it was really that easy. No email, no real name, no date of birth, and no annoying capcha. Just "Create a new account" and you're done.
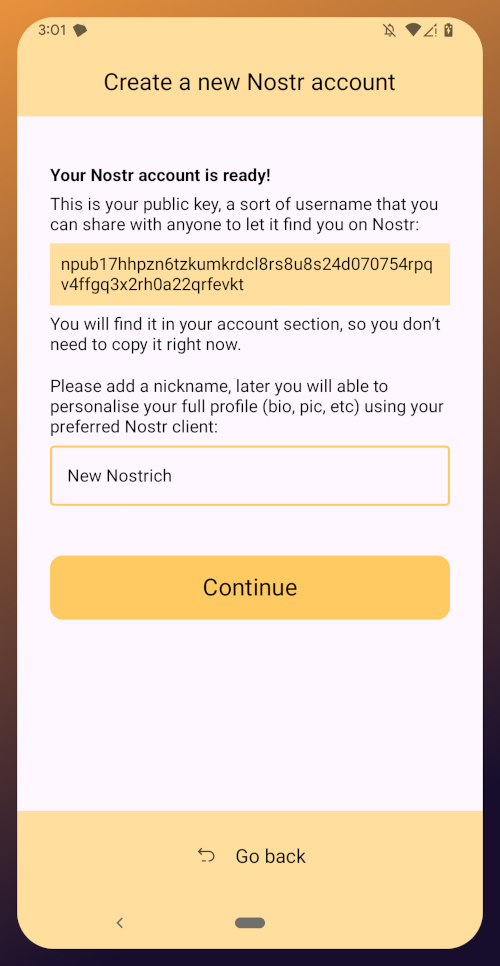
The app presents you with your public key. This is like an address that can be used to find your posts on Nostr. It is 100% unique to you, and no one else can post a note that lists this npub as the author, because they won't have the corresponding private key. You don't need to remember your npub, though. You'll be able to readily copy it from any Nostr app you use whenever you need it.
You will also be prompted to add a nickname. This is just for use within Amber, since you can set up multiple profiles within the app. You can use anything you want here, as it is just so you can tell which profile is which when switching between them in Amber.
Once you've set your nickname, tap on "Continue."
The next screen will ask you what Amber's default signing policy should be.
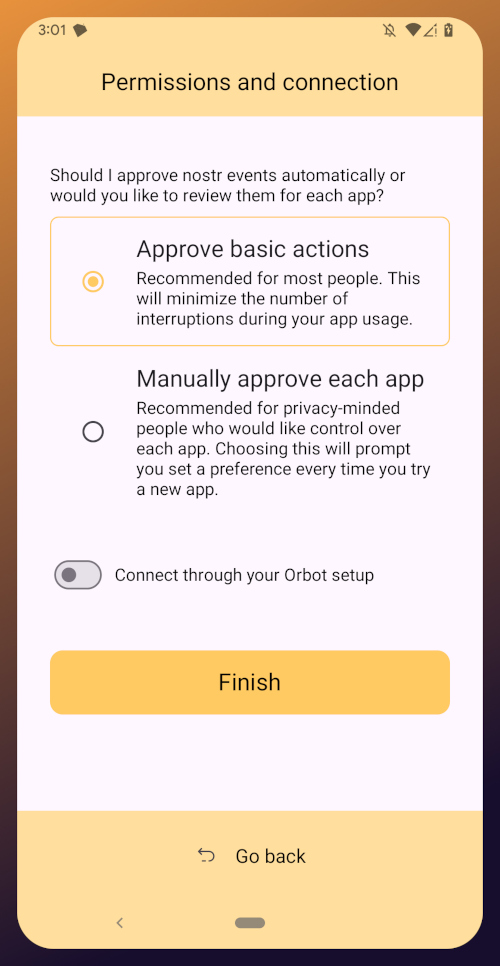
The default is to approve basic actions, referring to things that are common for Nostr clients to request a signature for, like following another user, liking a post, making a new post, or replying. If you are more concerned about what Amber might be signing for on your behalf, you can tell it to require manual approval for each app.
Once you've made your decision, tap "Finish." You will also be able to change this selection in the app settings at any time.
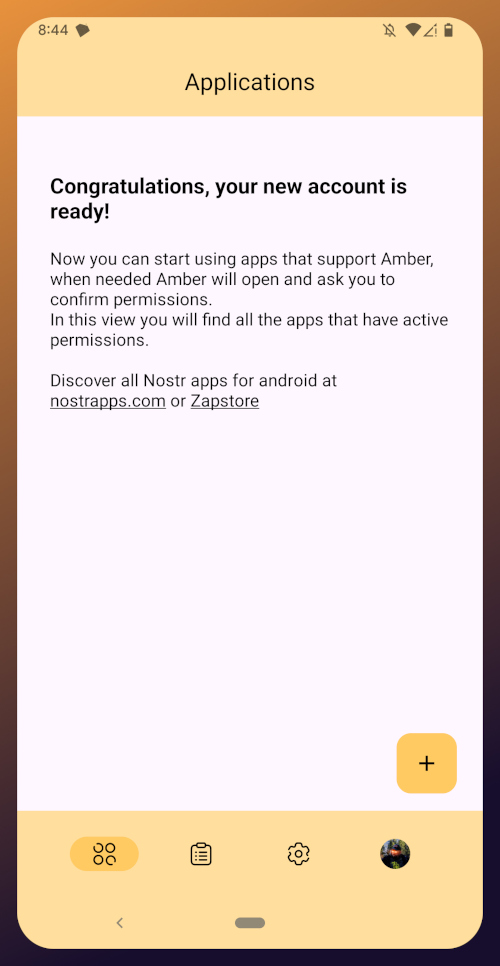
With this setup out of the way, you are now presented with the main "Applications" page of the app.
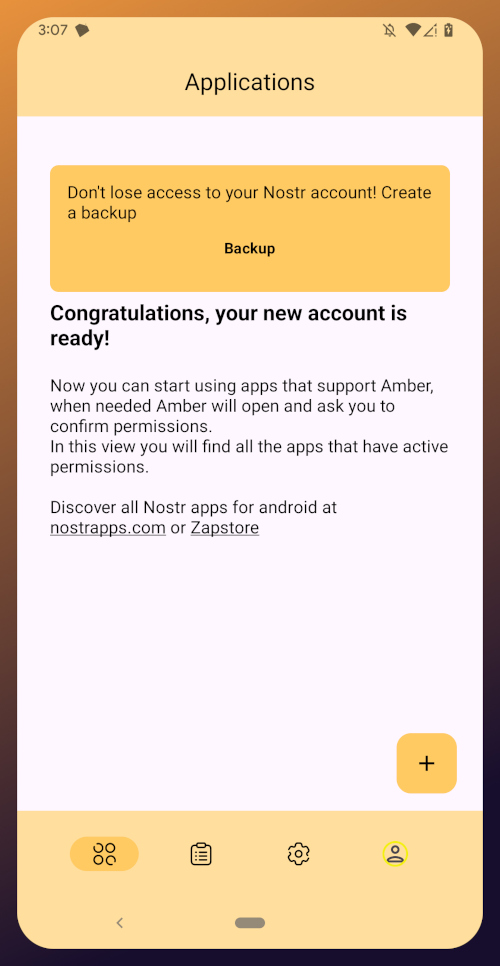
At the top, you have a notification encouraging you to create a backup. Let's get that taken care of now by tapping on the notification and skipping down to the heading titled "Backing Up Your Identity" in this tutorial.
Existing Nostrich
Upon opening the application, you will be presented with the option to use your private key or create a new Nostr account. Choose the former.
The next screen will require you to paste your private key.
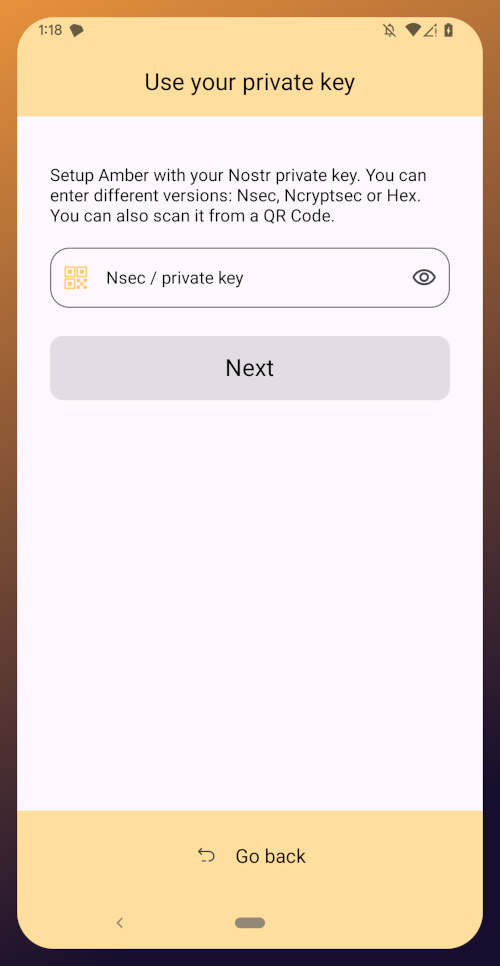
You will need to obtain this from whatever Nostr app you used to create your profile, or any other Nostr app that you pasted your nsec into in the past. Typically you can find it in the app settings and there will be a section mentioning your keys where you can copy your nsec. For instance, in Primal go to Settings > Keys > Copy private key, and on Amethyst open the side panel by tapping on your profile picture in the top-left, then Backup Keys > Copy my secret key.
After pasting your nsec into Amber, tap "Next."
Amber will give you a couple options for a default signing policy. The default is to approve basic actions, referring to things that are common for Nostr clients to request a signature for, like following another user, liking a post, making a new post, or replying. If you are more concerned about what Amber might be signing for on your behalf, you can tell it to require manual approval for each app.
Once you've made your decision, tap "Finish." You will also be able to change this selection in the app settings at any time.
With this setup out of the way, you are now presented with the main "Applications" page of the app. You have nothing here yet, since you haven't used Amber to log into any Nostr apps, but this will be where all of the apps you have connected with Amber will be listed, in the order of the most recently used at the top.
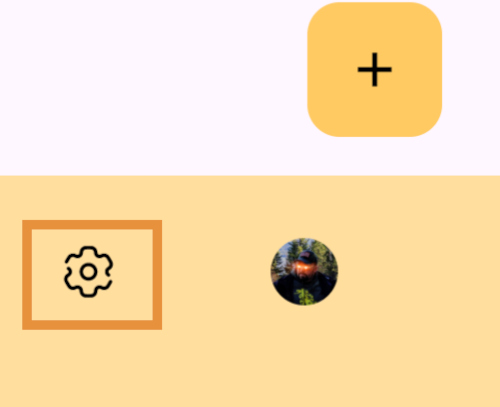
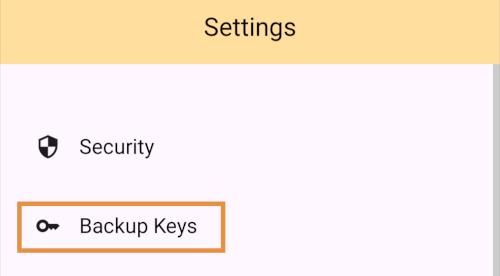
Before we go and use Amber to log into an app, though, let's make sure we've created a backup of our private key. You pasted your nsec into Amber, so you could just save that somewhere safe, but Amber gives you a few other options as well. To find them, you'll need to tap the cog icon at the bottom of the screen to access the settings, then select "Backup Keys."
Backing Up Your Identity
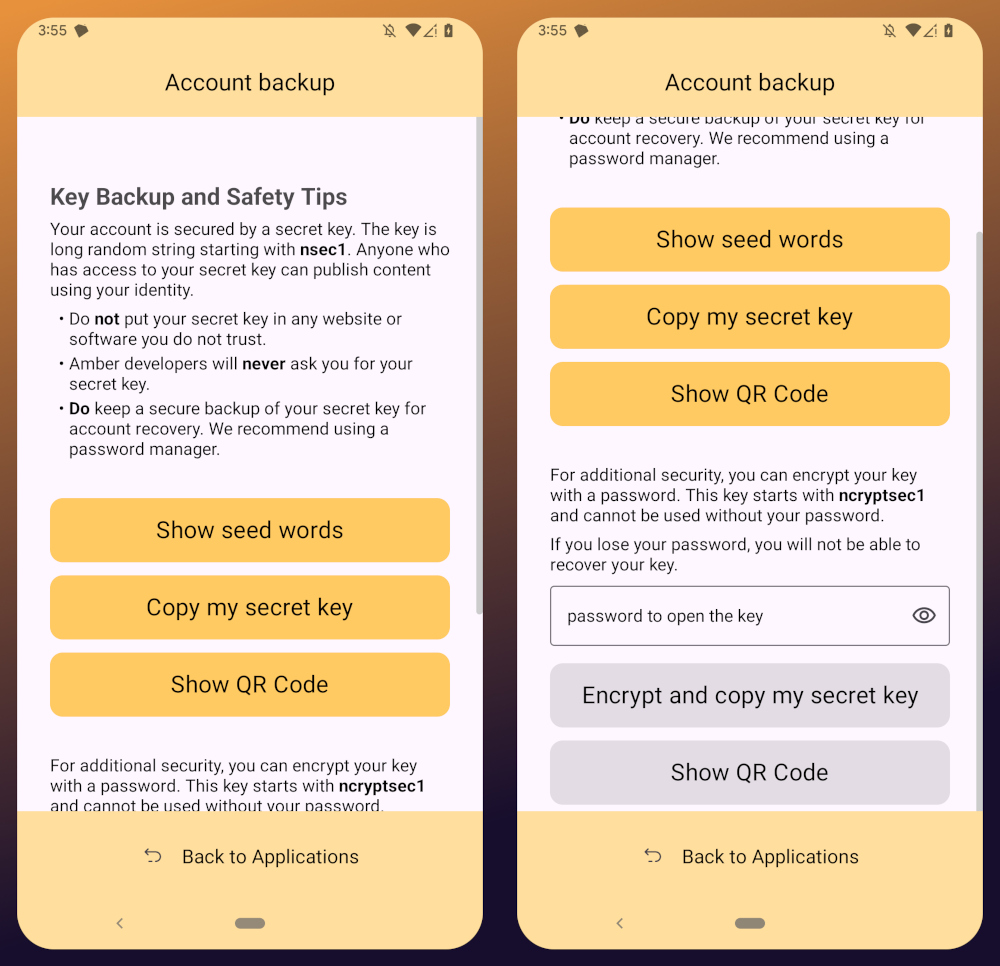
You'll notice that Amber has a few different options for backing up your private key that it can generate.
First, it can give you seed words, just like a Bitcoin seed. If you choose that option, you'll be presented with 12 words you can record somewhere safe. To recover your Nostr private key, you just have to type those words into a compatible application, such as Amber.
The next option is to just copy the secret/private key in its standard form as an "nsec." This is the least secure way to store it, but is also the most convenient, since it is simple to paste into another signer application. If you want to be able to log in on a desktop web app, the browser extension Nostr signers won't necessarily support entering your 12 word seed phrase, but they absolutely will support pasting in your nsec.
You can also display a QR code of your private key. This can be scanned by Amber signer on another device for easily transferring your private key to other devices you want to use it on. Say you have an Android tablet in addition to your phone, for instance. Just make sure you only use this function where you can be certain that no one will be able to get a photograph of that QR code. Once someone else has your nsec, there is no way to recover it. You have to start all over on Nostr. Not a big deal at this point in your journey if you just created a Nostr account, but if you have been using Nostr for a while and have built up a decent amount of reputation, it could be much more costly to start over again.
The next options are a bit more secure, because they require a password that will be used to encrypt your private key. This has some distinct advantages, and a couple disadvantages to be aware of. Using a password to encrypt your private key will give you what is called an ncryptsec, and if this is leaked somehow, whoever has it will not necessarily have access to post as you on Nostr, the way they would if your nsec had been leaked. At least, not so long as they don't also have your password. This means you can store your ncryptsec in multiple locations without much fear that it will be compromised, so long as the password you used to encrypt it was a strong and unique one, and it isn't stored in the same location. Some Nostr apps support an ncryptsec for login directly, meaning that you have the option to paste in your ncryptsec and then just log in with the password you used to encrypt it from there on out. However, now you will need to keep track of both your ncryptsec and your password, storing both of them safely and separately. Additionally, most Nostr clients and signer applications do not support using an ncryptsec, so you will need to convert it back to a standard nsec (or copy the nsec from Amber) to use those apps.
The QR option using an ncryptsec is actually quite useful, though, and I would go this route when trying to set up Amber on additional devices, since anyone possibly getting a picture of the QR code is still not going to be able to do anything with it, unless they also get the password you used to encrypt it.
All of the above options will require you to enter the PIN you set up for your device, or biometric authentication, just as an additional precaution before displaying your private key to you.
As for what "store it in a safe place" looks like, I highly recommend a self-hosted password manager, such as Vaultwarden+Bitwarden or KeePass. If you really want to get wild, you can store it on a hardware signing device, or on a steel seed plate.
Additional Settings
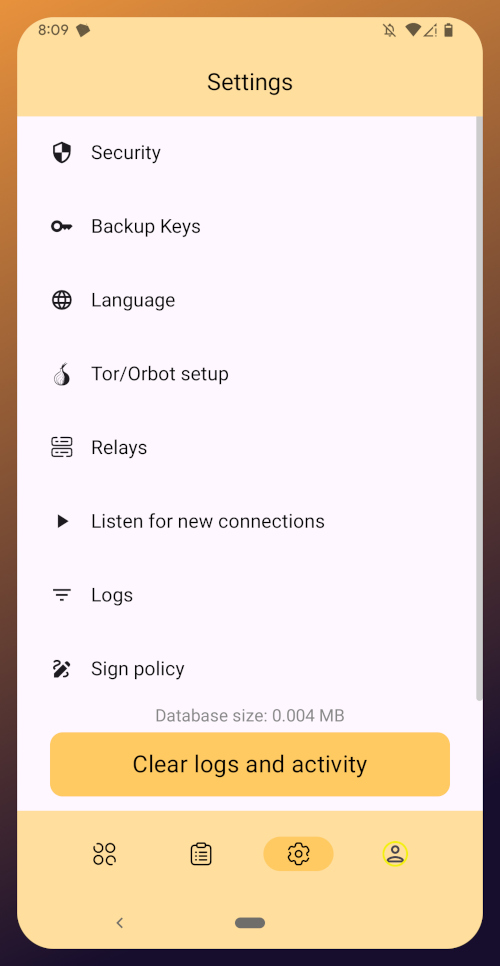
Amber has some additional settings you may want to take advantage of. First off, if you don't want just anyone who has access to your phone to be able to approve signing requests, you can go into the Security settings add a PIN or enable biometrics for signing requests. If you enable the PIN, it will be separate from the PIN you use to access your phone, so you can let someone else use your phone, like your child who is always begging to play a mobile game you have installed, without worrying that they might have access to your Nostr key to post on Amethyst.
Amber also has some relay settings. First are the "Active relays" which are used for signing requests sent to Amber remotely from Nostr web apps. This is what enables you to use Amber on your phone to log into Nostr applications on your desktop web browser, such as Jumble.social, Coracle.social, or Nostrudel.ninja, eliminating your need to use any other application to store your nsec whatsoever. You can leave this relay as the default, or you can add other relays you want to use for signing requests. Just be aware, not all relays will accept the notes that are used for Nostr signing requests, so make sure that the relay you want to use does so. In fact, Amber will make sure of this for you when you type in the relay address.
The next type of relays that you can configure in Amber are the "Default profile relays." These are used for reading your profile information. If you already had a Nostr identity that you imported to Amber, you probably noticed it loaded your profile picture and display name, setting the latter as your nickname in Amber. These relays are where Amber got that information from. The defaults are relay.nostr.band and purplepag.es. The reason for this is because they are aggregators that look for Nostr profiles that have been saved to other relays on the network and pull them in. Therefore, no matter what other relay you may save your profile to, Amber will likely be able to find it on one of those two relays as well. If you have a relay you know you will be saving your Nostr profiles to, you may want to add it to this list.
You can also set up Amber to be paired with Orbot for signing over Tor using relays that are only accessible via the Tor network. That is an advanced feature, though, and well beyond the scope of this tutorial.
Finally, you can update the default signing policy. Maybe after using Amber for a while, you've decided that the choice you made before was too strict or too lenient. You can change it to suit your needs.
Zapstore Login
Now that you are all set up with Amber, let's get you signed into your first Nostr app by going back to the Zapstore.
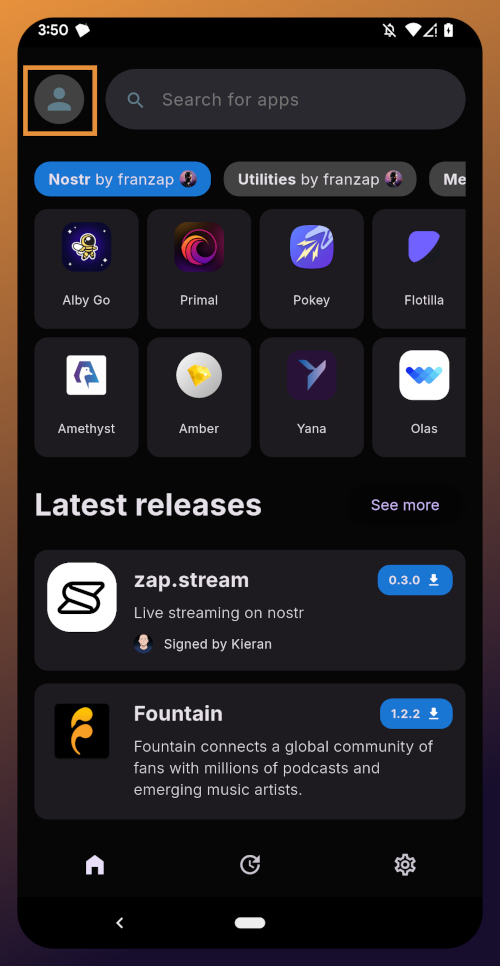
From the app's home screen, tap on the user icon in the upper left of the screen. This will open a side panel with not much on it except the option to "sign in." Go ahead and tap on it.
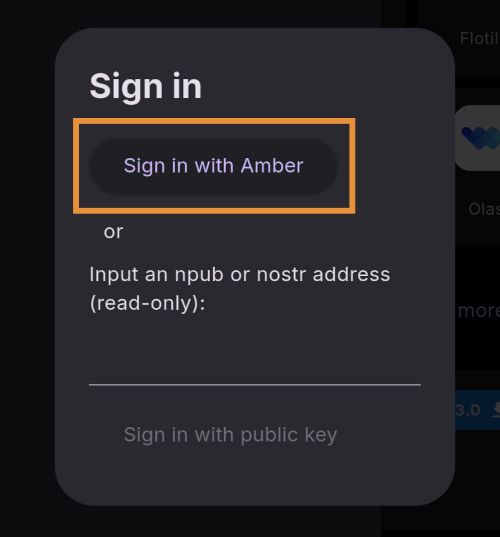
You will be presented with the option to either sign in with Amber, or to paste your npub. However, if you do the latter, you will only have read access, meaning you cannot zap any of the app releases. There are other features planned for the Zapstore that may also require you to be signed in with write access, so go ahead and choose to log in with Amber.
Your phone should automatically switch to Amber to approve the sign-in request.
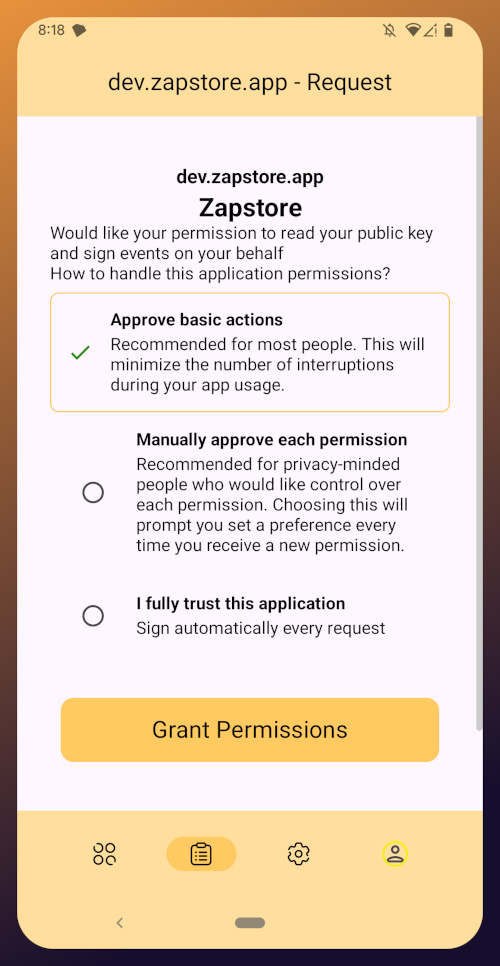
You can choose to only approve basic actions for Zapstore, require it to manually approve every time, or you can tell it that you "fully trust this application." Only choose the latter option with apps you have used for a while and they have never asked you to sign for anything suspicious. For the time being, I suggest you use the "Approve basic actions" option and tap "Grant Permissions."
Your phone will switch back to the Zapstore and will show that you are now signed in. Congratulations! From here on out, logging into most Nostr applications will be as easy as tapping on "Log in with Amber" and approving the request.
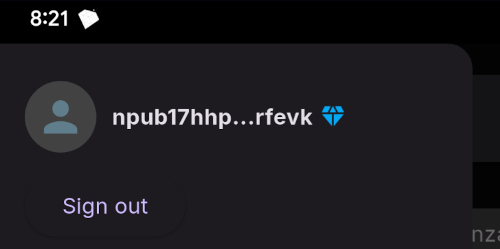
If you set up a new profile, it will just show a truncated version of your npub rather than the nickname you set up earlier. That's fine. You'll have an opportunity to update your Nostr profile in the next tutorial in this series and ensure that it is spread far and wide in the network, so the Zapstore will easily find it.
That concludes the tutorial for Amber. While we have not covered using Amber to log into Nostr web apps, that is outside the scope of this series, and I will cover it in an upcoming tutorial regarding using Amber's remote signer options in detail.
Since you're already hanging out in the Zapstore, you may as well stick around, because we will be using it right out the gate in the next part of this series: Amethyst Installation and Setup. (Coming Soon)